
If you're a real estate agent learning how to take listing photos with your phone, start with a room list and a walk through the property. Prepare each room, keep the phone level, compare the light, and check each saved photo before moving on.
You don't need to learn every camera setting before you start. Begin with the room and what a buyer needs to understand about it. Then use the phone's controls to help show that view.
Before you start, clean the camera lens with a clean lens cloth. Use the rear camera and take a test photo.
Property photos in this lesson show work for DeClue Homes.
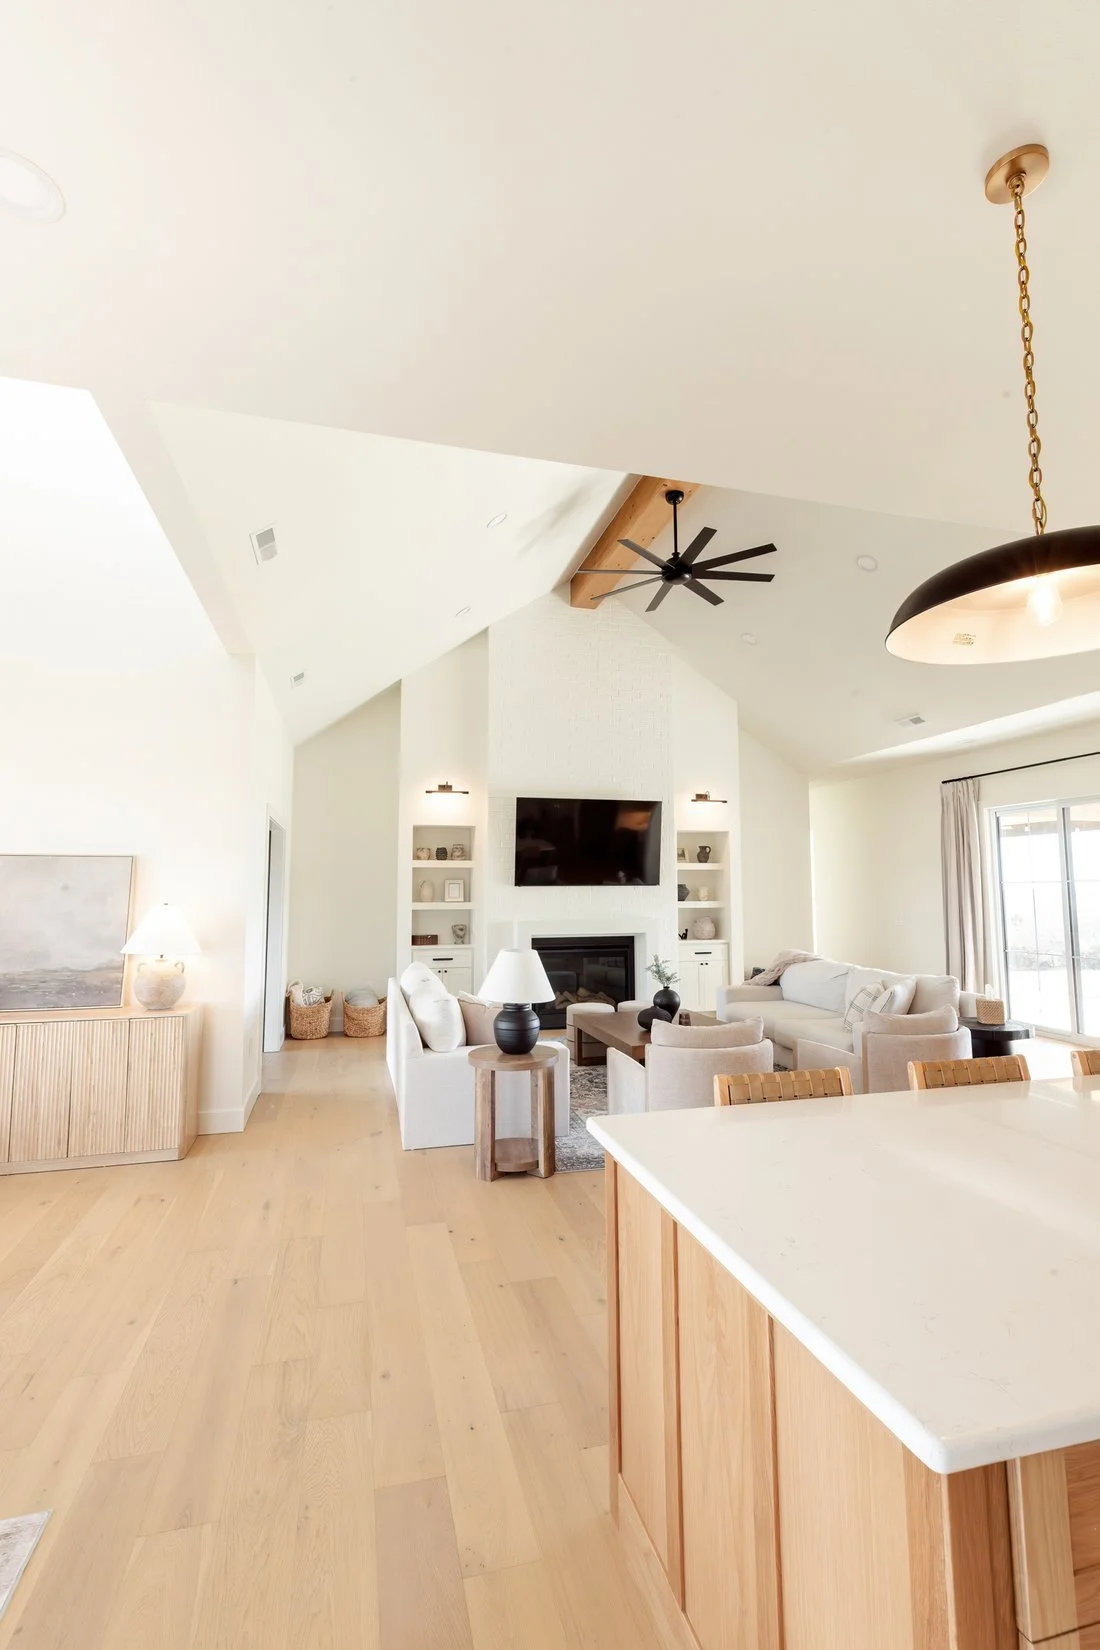
The kitchen island and living room share this view.
Walk through before you take photos
Make a room list before you start shooting. Add features that need their own view, such as a pantry, a covered patio, or a finished basement.
Look at the light as you walk. A room with a bright window may need a different shooting time from a room on the other side of the house. The front and rear exteriors may also work better at different times.
Name the job of each planned photo. One living room view might show the seating area and fireplace. Another might explain how the room opens to the kitchen. When two views show the same information, you may only need one.
Taking photos at your next listing? Get the free Listing Photo Field Guide so you can check off each room and review the photos before you leave.
Get the Listing Photo Field Guide
Prepare the room through the phone's view
Straighten chairs, bedding, and window coverings. Clear loose items that hide the floor or work surfaces.
Then hold up the phone. Check the edges of the frame. A chair back might block the kitchen island. A cord might cut across a clear stretch of floor. Moving a small item or choosing a different position can help the room read more clearly.
Check mirrors and glass too. A reflection can add your phone, your arm, or another room to the view. Move and look again before taking the photo.
Find a useful position before choosing a wider view
Start with the main camera view, often labeled 1x. Use the regular Photo mode so the room stays the subject, without a portrait-blur effect. Move until you can see the parts of the room that matter.
If your phone offers a wider view, compare it when the main view leaves out something useful. Look at furniture near the edges. A nearby sofa arm or chair can appear much larger than the furniture farther away. Move or reframe when that change gives the wrong sense of the space.
The widest view isn't always the clearest one. A second photo may explain a connection better than squeezing every wall into one frame.
Keep the phone level as you aim across the room
Hold the phone sideways for a horizontal photo. Keep its top from tipping toward or away from you as you aim across the room.
Keep your hands steady as you take the photo. A phone holder and tripod can help you keep the same position while you check the frame.
Look at a door frame near the center of the view. If the vertical lines lean, check the phone's angle. Use the grid or level when your phone provides them.
Compare heights rather than choosing one height for every room. In a kitchen, check how much counter surface and cabinet underside you see. In a bedroom, look at whether the bed hides the floor and the room beyond it. Move the phone up or down, then check the view again.
Compare the light before adjusting brightness
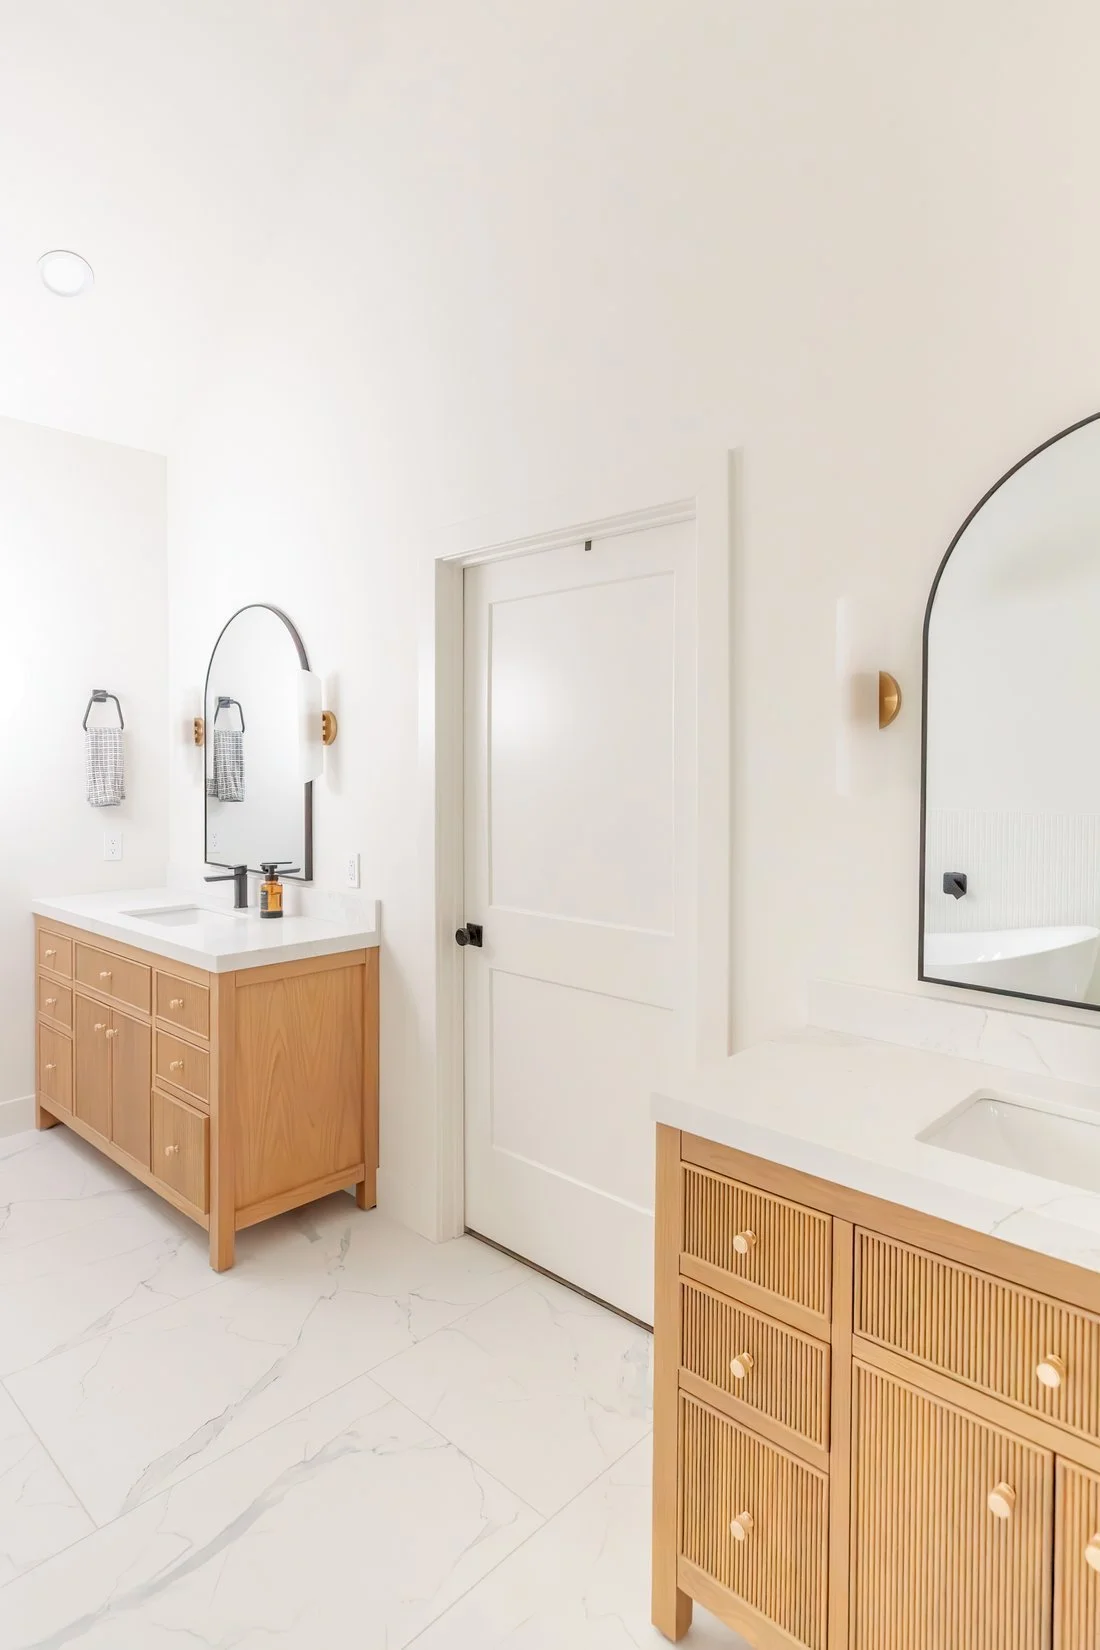
Check both mirrors and the edges of the vanities as you frame the room.
Try the room with indoor lights off and on. Look at the walls and furniture. Daylight and bulbs can give the same surface different colors, so choose the setup that works for this room.
Next, check the room and the window together. Make a small brightness change and inspect both areas. On an iPhone, the focus and exposure lesson explains how to choose a spot and adjust brightness.
If the outside view is clear but the room is too dark, one brightness change may not solve both. Try a different view or return when the room and outside view are closer in brightness. A phone's automatic processing has limits.
Check the saved photo
Open the photo you took. Zoom in to inspect detail. Then look at the whole frame again.
Check whether the important features are visible, the walls look straight, and the room has a believable shape. Retake a weak photo while you still have the room in front of you.
Mark the view on your room list. If a space needs another visit for better light, write that down too.
Edit, then compare the set
Keep the original so you can compare it with your edit. Straighten the view, set the overall brightness, and check the brightest and darkest areas. Then look at color.
Use small changes. A highlight adjustment can reveal detail the file captured, but it may only turn a blank white window gray. Our Exposure, Highlights and Whites lesson explains that file-dependent limit in Lightroom; phone sliders also need to be judged by the saved result.
Compare room photos together before choosing the set. One warm, dark frame can look out of place beside a cooler, brighter one. Make the set consistent while keeping each room believable.
Choose photos that add information
Pick a clear introduction to the property. Then group related spaces so the photos are useful to follow.
Remove weaker repeated views and check the set against your room list. Before export, use your listing service's current requirements for file size, format, and photo count.
If you’re preparing listings for the holiday season, JB Media’s real estate agent holiday checklist helps you plan client follow-ups and content before time away.
At the next property, practice with one room first. Take a photo, change the phone's position, and take another. Write which view explains the room more clearly and why.
