To make a double exposure in camera, turn on your camera's multiple exposure mode. Take a first photo with a clear shape, then take a second photo with texture. The camera blends the two into one new file. Dark areas in the first photo leave room for the second photo to show through.
Not every camera has this mode, and each maker names the settings differently. Keep your camera manual's multiple exposure page open while you practice.
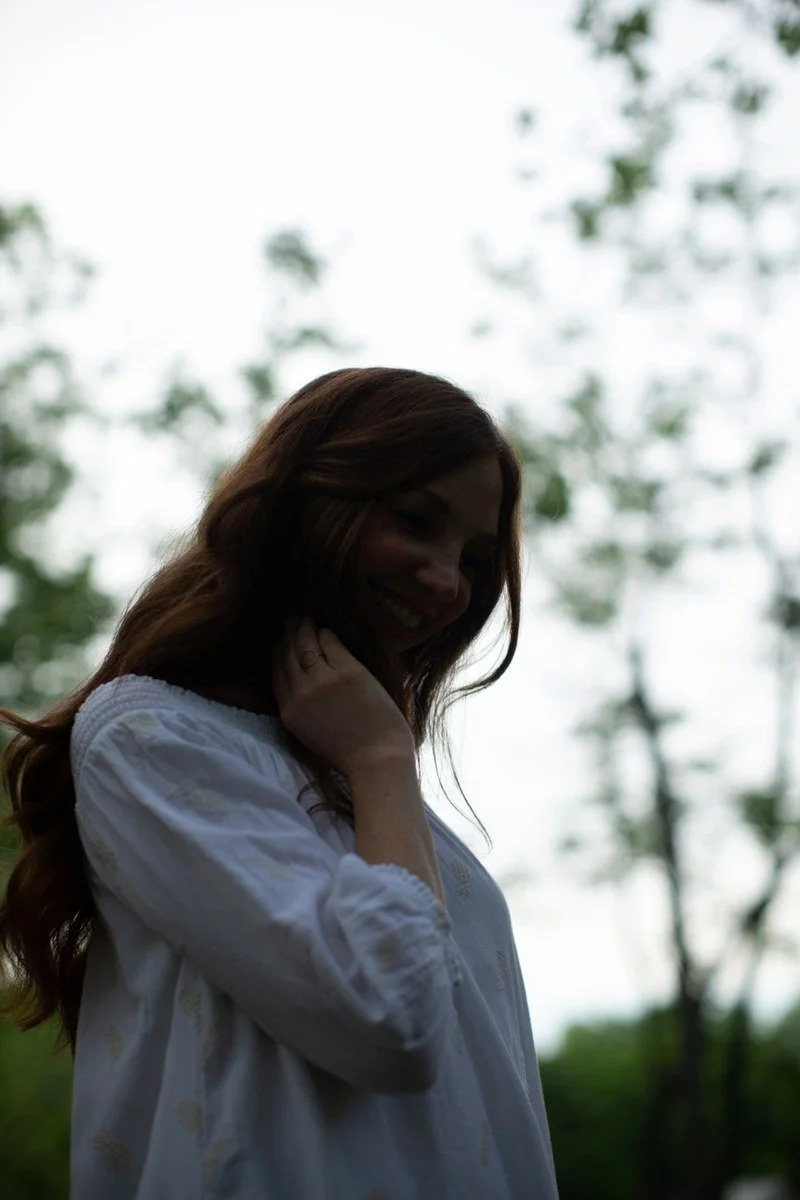
Look for a clear shape against a bright background when you plan the first exposure.
Check what your camera can do
Search the manual for "multiple exposure." Look for three things: how many shots it can combine, which blend modes it offers, and which file type it saves. Canon's EOS R6 multiple exposure page is a good model: it lists two to nine exposures, four blend modes and the settings that block the feature.
Note the file type your model saves for the blend. For the most room to edit later, our RAW lesson explains why that file choice matters.
Plan a shape photo and a texture photo
A double exposure works best when each photo has a job. The first photo gives the shape. A person in profile, a hand or a tree trunk all work when the subject fills a big part of the frame. Thin lines, like a single twig or a few loose strands of hair, tend to get lost unless they belong to a bigger shape.
The second photo gives the texture. Try leaves, flowers, a patterned fabric or out-of-focus lights. A sharp, busy texture fills the shape with detail. A soft blur adds a gentle wash of color.
Jordan's in-camera double exposure lesson calls these two photos the structure and the pattern. Naming both before you lift the camera helps you choose each one on purpose.
Put the shape against a bright background
Where the first photo is bright, the blend stays bright. Where it is dark, the second photo shows through.
For a classic portrait double exposure, put the person in front of a plain, bright sky or a white wall. Set your exposure for the background so the person turns into a darker shape. The background stays clean, and the texture fills the person.
A dark background does the opposite and lets the texture spread across the whole frame. Neither is the right answer. Choose the look you have in mind.
Choose a blend mode and set exposure
Many cameras offer more than one way to combine the shots. The Canon R6 manual describes four:
- Additive: adds the brightness of each shot together. Canon suggests exposure compensation, a setting that tells the camera to make the photo darker or brighter than it would choose, of about minus 1 stop for two exposures.
- Average: lowers the exposure for you based on the number of shots, so the overlap is less likely to turn too bright.
- Bright and Dark: keep the brighter or the darker part of each spot in the frame instead of adding them.
If you use Additive, make each photo a little darker than normal. Jordan's lesson gives the same advice for the first frame: keep it slightly dark with crisp edges, because the camera adds light to light. Her starting aperture for that first frame sits around f/2.8 to f/3.5. Check the result on the screen and in the histogram, the graph of dark and bright tones, after each try.
Watch for settings that block the mode
Some features stop multiple exposure from working. On Canon cameras, Highlight Tone Priority is one to check. That setting protects bright detail in a normal photo. Jordan's lesson tells you to turn it off before a double exposure, and the R6 manual says a photo taken with it on can't be chosen as the first exposure.
Switching to certain auto modes or to video can end the mode too. If the menu option is gray, read the manual's list of limits.
Use the screen to line up the second shot
Some cameras show the first photo over the live scene while you frame the second. The R6 manual describes this view, and Jordan's lesson uses live view on her camera for the same reason. Use it to place the texture where you want it inside the shape. Take a step to one side and watch the blend change before you press the shutter.
Some cameras also let you pick a saved photo as the first exposure. On the R6 that item is called Select image for multi. expo., and it accepts a RAW file from the card, so you can try several textures with one shape photo.
Practice with one shape and three textures
- Turn on multiple exposure, set it to two shots and choose Additive or Average.
- Photograph a person or object as a dark shape against a bright sky or wall.
- Make three different second photos: one busy texture, one soft blur and one plain pattern.
- Put the three results side by side.
Check each one for three things. Can you still read the shape? Does the texture show inside it? Is the background clean, or did it turn gray or busy? Keep the best one, change one thing, such as a darker first frame, and compare again. If the blend looks too bright overall, our Exposure, Highlights and Whites lesson helps you decide what to change in Lightroom.
Questions about double exposures in camera
Can I make one if my camera has no multiple exposure mode?
Not in camera. You can blend two photos later in an editing app that supports layers, which is a separate skill.
Why did my double exposure come out too bright?
In an additive blend, the brightness of both shots stacks up. Make each shot darker, or switch to Average if your camera offers it.
Does the order of the two photos matter?
It matters for planning. Taking the shape first lets you see it on the screen while you frame the texture. The blend mode decides how the two combine.