To adjust white balance in Lightroom Classic, open the Basic panel in Develop. Use Temperature to change how warm or cool the photo looks. Use Tint to adjust a green or magenta cast. Check the subject after each change.
A known neutral surface can help you find a starting point. Your finished photo can still feel warm or cool when that suits the light and the look you want.
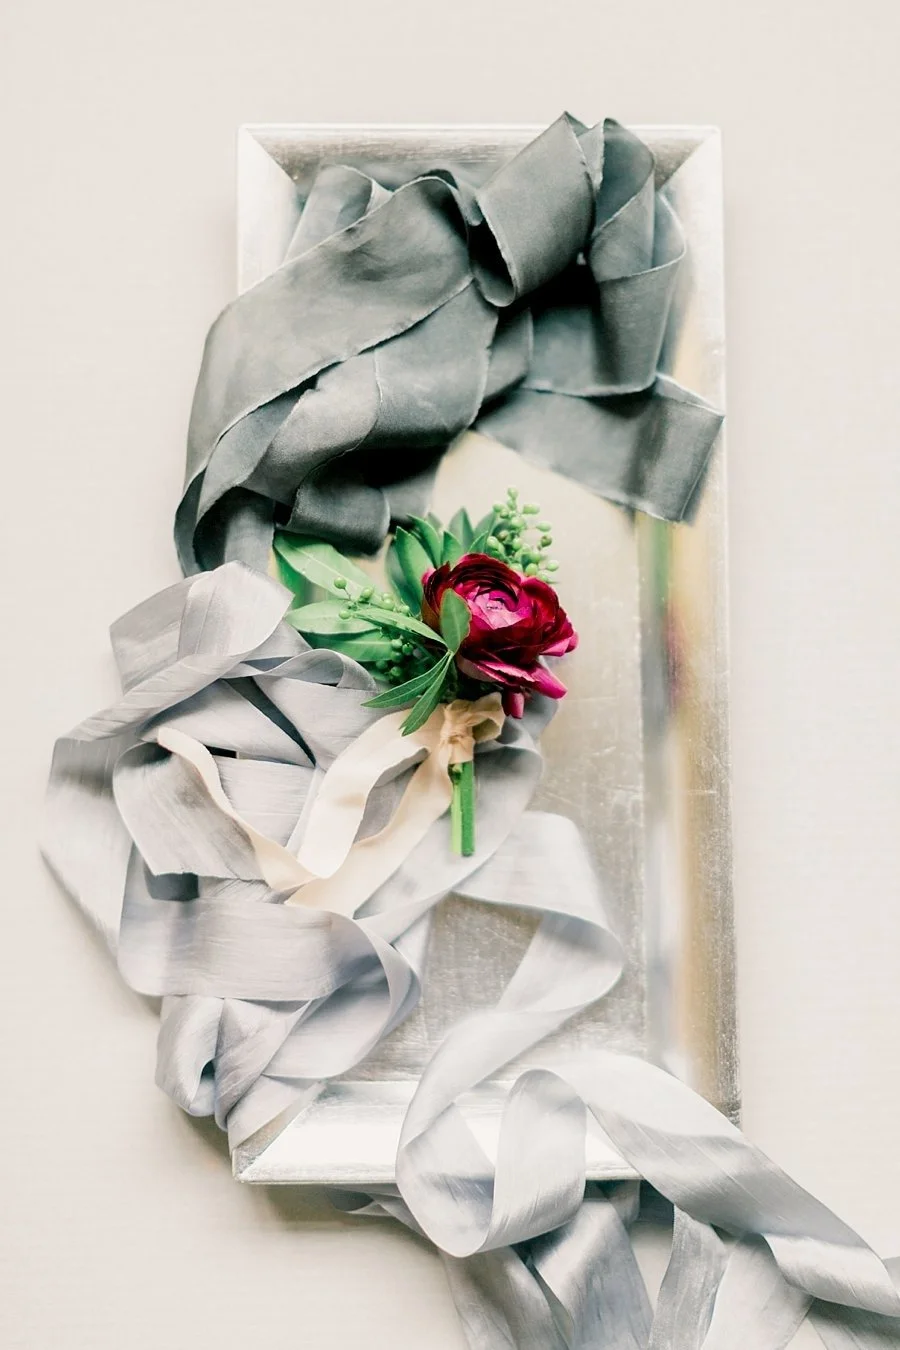
Use pale surfaces to help judge warm or green color in your edit.
Look at the whole photo first
Before you change one color, look for a cast across the image. Do pale surfaces, the background and the person all seem too yellow? Or do several parts of the scene look green?
That is a reason to check white balance before you reach for an individual color slider. If only the leaves need a change, our lesson on editing greens covers that separate choice.
Jordan's camera-settings lesson starts this work during capture. Getting white balance close in camera helps you see the light and nearby color reflections before editing.
Use Temperature for warm and cool changes
In Lightroom Classic, move Temperature left to make the photo look cooler. Move it right to make the photo look warmer. Try a small change and compare the subject with the rest of the frame.
Watch skin, pale fabric and any object whose color you know. A wall that looks white in the photo may actually be cream. Do not force it to pure white unless you know that is the right reference.
Jordan's Lightroom editing lesson places this step within the base edit. Give later color choices a useful starting point before building a particular look.
Use Tint for green and magenta changes
If the image still has a green cast, try a small move toward magenta. If it looks too magenta, try moving Tint toward green. Change one control at a time so you can see what helped.
Temperature and Tint solve different parts of the color balance. Cooling a green photo may leave it both cool and green. Check the direction of the cast before making another move.
Then step back and review the whole photo. A setting that suits one face may change a pale background or a dress in a way you did not intend.
Choose a neutral reference you can trust
Lightroom Classic's White Balance Selector can give you a starting point from a neutral area. Open the tool in the Basic panel and choose an area you know should be neutral light gray.
Avoid a shiny reflection or an area with no detail because it is fully white. A colored object does not become a good reference because it looks pale.
Adobe's white-balance guide explains the selector and the Temperature and Tint controls. Check the result and fine-tune it after choosing the reference.
The photo here is a finished example from Jordan's published teaching. Use the pale surfaces, flowers and nearby colors as things to study. Its exact capture and editing settings are not being used as a white-balance test.
Keep mixed light in mind
A room can have cool window light on one side and a warm lamp on the other. Moving one global slider changes the whole image. It may improve one area while leaving another with a different cast.
Look for that pattern before pushing the sliders farther. For your next shoot, consider how the light sources work together. If you can use one main light for a practice photo, it is easier to see its effect.
You can learn about local editing later. For this exercise, choose an image with one main light and a useful reference. That lets you study the base correction clearly.
Practice one control at a time
- Choose a photo with a subject and a known neutral surface.
- Try Temperature first. Compare the subject and the reference.
- Check for a remaining green or magenta cast and try Tint.
- Compare the full image before changing individual colors.
If brightness also needs work, use the Exposure, Highlights and Whites lesson to make that choice. Color balance and brightness work together, but each control has its own job.
Questions about white balance
Can I adjust white balance in a JPEG?
Yes. Lightroom Classic provides Temperature and Tint adjustments for JPEG files. The controls and editing room differ from a RAW file, so judge the actual result.
Should every photo look neutral?
No. Use a sound starting point, then choose the warmth that suits the photo. Keep the subject's important colors in mind.
Why does one side of a face still look green?
Look at the light reaching that side and nearby surfaces that may reflect color. One global adjustment may not balance light from several sources.