Look at where the light comes from before you choose your camera settings. Light from the front, side or back creates different patterns of brightness and shadow. That pattern helps you decide how you want to show a face.
You can begin with one window. Place a willing subject nearby and look at their face from the camera's position. Watch the cheeks, the shadow beside the nose and the light in the eyes.
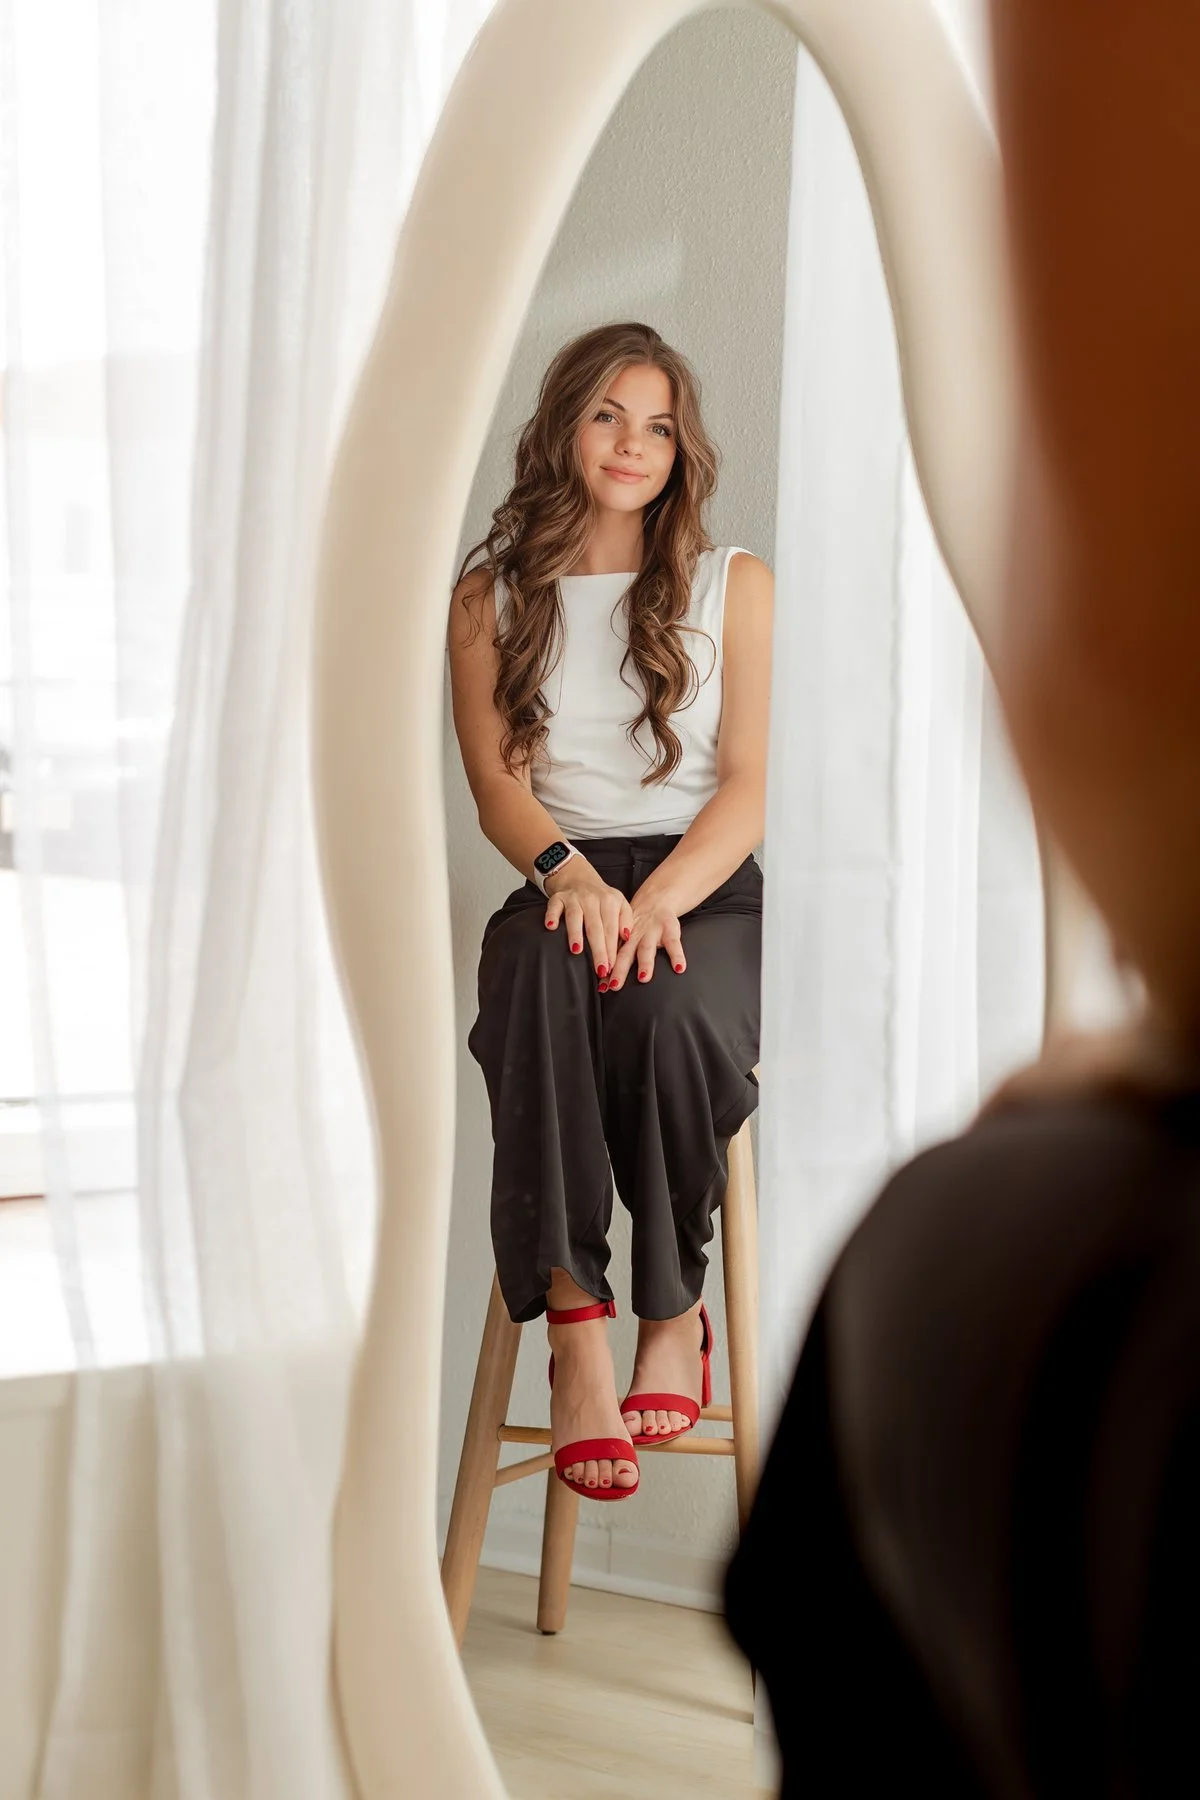
A window portrait gives you a place to look for light and shadow on the face.
Learn the three directions
Front light comes from the camera side of the subject. Side light comes from beside them. Back light comes from behind them, toward the camera. These names describe the relationship between the light, the subject and the camera. Sony's lighting guide explains the three directions.
For each position, first look without taking a photo. Which cheek is brighter? Where does the nose shadow fall? Can you see both eyes clearly?
Use front light to study the whole face
For a front-lit window portrait, stand with the window behind you and your subject facing toward it. Leave space so your body doesn't block the light.
Look for detail across the face. Then ask the person to turn their head a little to one side. Watch for a change in the cheek and nose shadows before taking another frame.
If you try this outdoors, choose a comfortable spot where the person can keep their eyes open. Open shade can be a useful starting place. Avoid asking someone to look into the sun. Nikon's portrait guide discusses working with shade and bright backgrounds.
Use side light to study the shadows
Place the window to one side of your subject. Move your camera so you can still see their face clearly.
One side will often look brighter, with more shadow on the other. Side light can make the shape of the face more visible. Sony describes how side light creates contrast and depth.
Ask for a small turn toward the window. Then ask for a small turn away. Compare the shadow beside the nose and under the eye.
If the room has overhead lights, switch them off for this practice if you can. That makes the window's contribution easier to see. You can explore other light sources later. Nikon offers a window-only portrait approach for studying light and shadow.
Use back light and check the face
For a backlit portrait, place the window behind the person and face your camera toward them. Look for bright edges around the hair or shoulders. They may appear, depending on the source and angle.
To keep the face bright, look for light that bounces back toward it. A white wall behind you can act as a natural reflector if the window light reaches it. You can also use a handheld reflector in front of the person, outside the frame. Angle it until you see light on their face. A second window or another light source can work too.
A NEEWER 43-inch 5-in-1 reflector is one option to compare. Start with its white side to bounce light onto the face. Watch the face as you move and angle it.
Check the face before you shoot. A bright background can leave it darker than you intended. You may need to adjust exposure or add light to the face. If your camera offers exposure compensation in the mode you're using, try a small change and check the result. Sony discusses exposure compensation for backlit subjects.
You may have to choose between a bright face and detail outside a bright window. Decide which part matters to the photograph. A brighter face and a darker silhouette are different goals.
Check exposure in every position
A shadow on one cheek can be part of your lighting choice. Look for unwanted loss of detail in the parts you want to show, especially skin and bright clothing.
Use your camera's histogram or highlight warning if it has one. The histogram shows how brightness values are spread through the image. It helps you check what the screen preview may hide. Nikon's light workshop introduces the histogram as an exposure tool.
For this exercise, keep the face at a similar intended brightness as you change direction. Adjust exposure when needed and note what you changed. This helps you compare shadow patterns without a large brightness shift taking over.
Practice with one window
Make three portraits: front light, side light and back light. Keep the subject, pose and crop as close as you can. For the backlit photo, use a natural reflector, a handheld reflector or another light source when needed to keep the face at the intended brightness. Make only small movements, and keep everyone comfortable.
Put the photos beside each other. For each one, describe the light on the forehead, both cheeks and the eyes. Choose the direction you would use again, and name the shadow or detail that led to your choice.
Frequently asked questions
Does front light mean the sun must be behind me?
It means the main light reaches the subject from the camera side. A window or another light source can create that relationship too.
Is side light always harsh?
Direction and softness are different qualities. Check the edge of the shadow and the size of the source as seen by the subject, as well as where the light comes from.
Why does a backlit face look dark?
The face may receive less light than the bright area behind it. Check the intended face brightness, then adjust exposure or add light when that serves the photograph.
Should every part of the portrait keep detail?
Decide which parts matter to your image. Preserve the skin or fabric detail you intend to show; a deliberate shadow or bright background can still fit your goal.
Should I keep exposure fixed for all three photos?
For this lesson, aim for similar intended face brightness and record any exposure change. A separate fixed-exposure test can help you study how much light reaches the face in each setup.