To brighten a face in Lightroom Classic, open the Develop module, click Masking and choose Radial Gradient. Drag an oval over the face, raise Exposure a small amount and use Feather to fade the edge. Then compare the face with the rest of the photo.
A radial mask is a soft oval that limits a change to one part of the photo. It works well when the face is a little darker than the scene around it. Finish the main edit for the whole photo first, so you know how much help the face really needs.
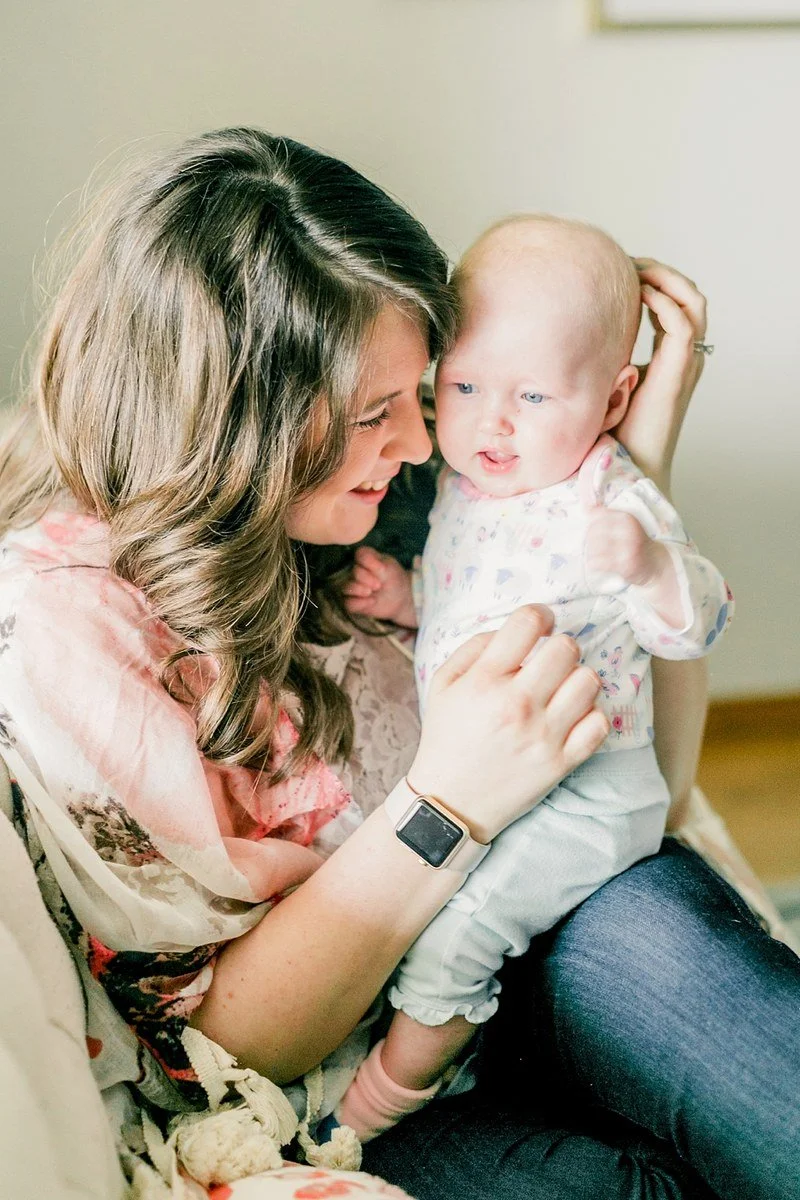
Look at the face and the light around it before you brighten one area.
Start with the base edit
Set the overall brightness and color before you add any mask. Jordan's Radial Filter lesson follows the same order: exposure first, then temperature and tint, with the histogram open the whole time. The histogram is the graph of dark and bright tones at the top of the right panel.
Our Exposure, Highlights and Whites lesson helps with that first step. Once the whole photo looks close, check the face again. It may need less change than you first thought.
Draw the oval over the face
In the Develop module, click Masking under the histogram and choose Radial Gradient. You can also press Shift + M. Click and drag across the face to draw an oval.
Adobe's Radial Gradient guide explains how to adjust the shape. Drag the center pin to move it. Drag one of the four handles to change its size. Drag near the edge to turn it, which helps when the head is tilted. Hold Shift while you draw if you want a circle.
Leave some room around the hair. Jordan's lesson makes this point too: an oval drawn too tight can make the edges of the hair look different from the rest of the head.
Choose inside or outside
In Lightroom Classic, a new Radial Gradient changes the area inside the oval. Adobe notes that the Invert checkbox is off by default. Turn Invert on and the change moves to the area outside the oval.
That gives you two ways to reach a similar goal. You can brighten the face itself, or you can change everything around it. Jordan's lesson uses the outside approach for a photo where the window light reached only her face: she brightened the dim room around it so the light looked more even. Try both on the same photo and see which looks more natural.
Use small slider moves
With the mask selected, start with Exposure. Raise it a small amount, then look at the whole photo, not only the face. A face that is much brighter than the light around it can look pasted in.
If the eyes sit in shadow, try Shadows instead of more Exposure. If the forehead turns too bright, lower Highlights inside the same mask. Change one slider at a time so you know which one helped.
There is no single number that suits every portrait. The right amount depends on the light in the photo and the look you want.
Hide the edge
Raise Feather to soften the edge of the oval. A low Feather leaves a ring where the change stops. A higher Feather fades it out over a wider area.
Turn on Show Overlay in the Masks panel to see where the mask sits. Turn it off to judge the photo. Then press the backslash key (\) to see the photo before your edits. Look at the neck, ears and hairline. They should match the face in brightness, not stop at a hard line.
Know where a radial mask stops
An oval is a rough shape. If the change spills onto a bright background or a white shirt, use Masking's Subtract option to take that area back out, or try Select Subject for a closer outline.
Jordan prefers to get the light right in camera and saves this kind of fix for tricky photos. If a face is very dark, a better position near the light will usually help more than a strong mask. Our window light portrait lesson covers that setup.
Practice with two copies
- Choose a portrait where the face is a little darker than you want.
- Finish the base edit. Then choose Photo, Create Virtual Copy.
- On the first copy, draw a radial mask over the face and raise Exposure a little.
- On the second copy, turn on Invert and adjust the area around the face instead.
- Select both copies and press C for Compare view.
Check three things in each copy: the edge of the mask, the brightest skin and the hairline. Pick the copy that looks more natural, then try lowering its slider by half and compare again.
Questions about radial masks
Why can I see a ring around the face?
Feather is too low or the change is too strong. Raise Feather and lower the slider you moved.
Can I use more than one radial mask?
Yes. Add another Radial Gradient for a second face or a second area, and adjust each one on its own.
Does this work in Lightroom (cloud) too?
Yes, Lightroom has radial masks as well. The menus look different, so these steps are written for Lightroom Classic.