
To adjust a Lightroom preset, apply it in the Develop module of Lightroom Classic and then change the sliders it set. Start with the preset's Amount slider. Then check white balance, brightness and contrast, one at a time, while you look at the subject.
A preset is a saved group of slider settings. It was built on other photos, in other light. Your photo will often need a few changes before the look fits.
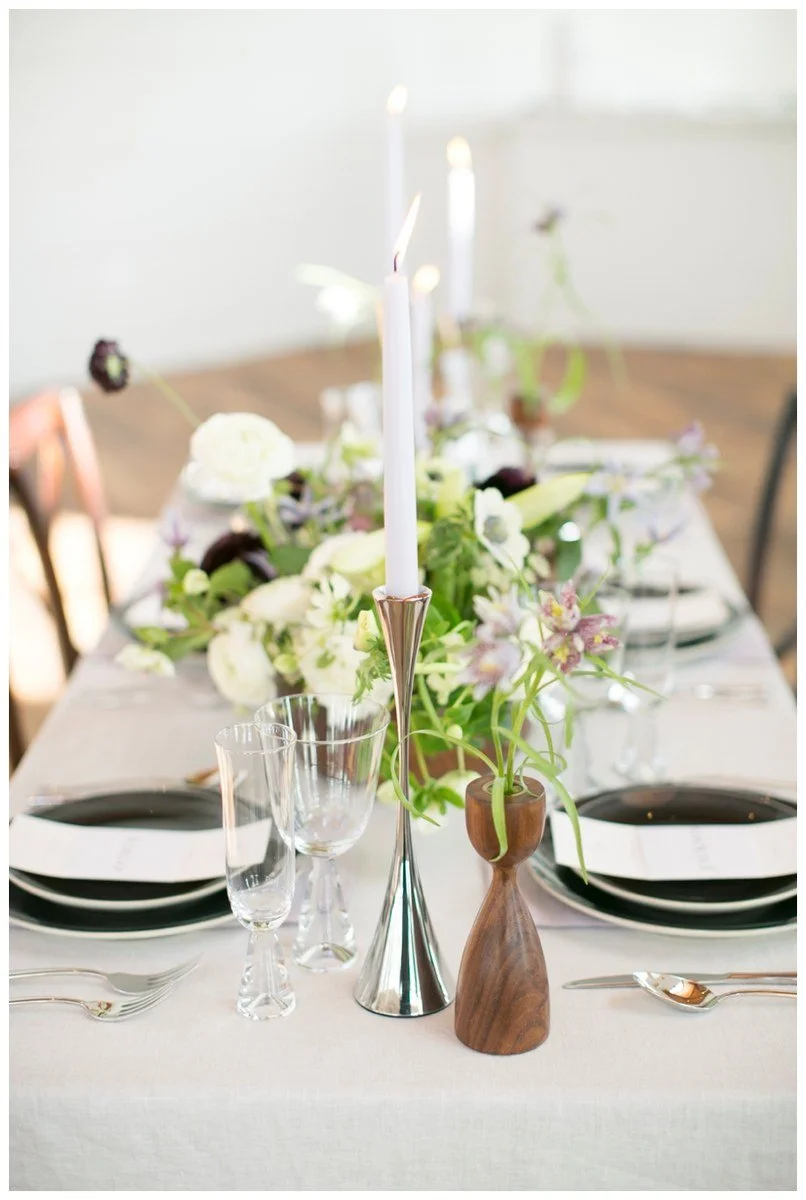
Use the pale plates and green leaves to judge whether your edit keeps the colors you want.
Know what a preset changes
When you click a preset, Lightroom Classic moves the sliders that preset includes and leaves the rest alone. One preset may change color only. Another may change exposure, contrast, color and more.
You can see what moved by watching the panels on the right as you apply it. The History panel on the left also lists the preset by name. Knowing which sliders moved tells you where to look first.
If you apply a second preset, any setting it includes replaces the value from the first one. Settings it doesn't include stay as they were. That's why some preset sets are built to stack, with each one handling a different job.
Set the strength with Amount
Adobe's guide to applying presets says you can change the intensity of the applied preset with the Preset Amount slider. Move it left for a lighter version and right for a stronger one.
The slider only works when the preset supports it. If it's grayed out, the preset was saved without that option or includes settings that can't use it. You can still adjust each slider by hand.
Try the Amount slider first when the look feels right but too heavy. Skin that looks a little orange or shadows that look too flat can often come back with a small move left.
Check white balance next
White balance is often the next thing to fix. Look at skin and at anything you know is white or gray. If the photo looks too yellow or too blue, use Temperature. If it looks too green or too magenta, use Tint.
Jordan's preset walkthrough makes the same point: after the preset, look at white balance. Some presets don't touch Temperature and Tint at all, so whatever the camera chose is still there. The white balance lesson covers both sliders in more detail.
Then check brightness
A preset made for a bright, sunny photo may push a dim indoor photo too far, or the other way around. Look at the subject's face first. If it's too dark or too bright, adjust Exposure.
Then look at the brightest areas, such as a sky, a white shirt or a window. If they've lost detail, try Highlights or Whites. The Exposure, Highlights and Whites lesson explains which one to reach for and why.
Add depth with Blacks or Contrast
If the photo looks flat after the preset, you have two choices. Contrast pushes darks darker and lights lighter across the whole photo. Blacks changes only the darkest tones.
Jordan's walkthrough suggests lowering Blacks instead of raising Contrast when you want more depth but still want to keep a film-like finish. Try both on the same photo and compare. Contrast may suit a bold look. Blacks may keep the light parts of the photo softer.
Compare before and after
Press the backslash key to switch between the photo with and without your edits. Do this a few times. Look at the skin, the whites and the background.
Ask two questions. Does the edit fit the light you saw when you took the photo? And does it look like the style you want? The first is about technique. The second is about taste, and only you can answer it.
Practice on three different photos
- Pick three photos from different light: outdoor shade, indoor window light and sunlight.
- Apply the same preset to all three.
- On each, set Amount, then check white balance, then Exposure, then Blacks or Contrast.
- Write down what you changed on each photo.
Then put the three finished photos side by side in Survey view. Check that skin tones look like they belong to the same set. If one photo keeps needing the same changes, save them as a new preset. In the Presets panel, click the plus icon, choose Create Preset, and select only the settings you want it to include.
Questions about adjusting Lightroom presets
Will changing a slider remove the preset?
No. Adobe notes that the preset selection stays the same when you adjust other sliders. Your changes sit on top of the preset settings.
Should I update the original preset?
You can use Update With Current Settings on a user preset. Saving a new preset keeps the original as a clean starting point.
Why does a preset look different on my photo than in the sample?
The sample was taken in different light, often with different camera settings. A preset moves sliders to set values, so the result depends on the photo you start with.
