For a portrait on a cloudy day, look for the direction of the light before changing your settings. Compare the brightness across the person's face and clothing. A small turn can change what the light shows.
An overcast sky can give you soft light. The whole scene still needs a look. Trees, a porch or a nearby wall can change how much light reaches the person from each direction.
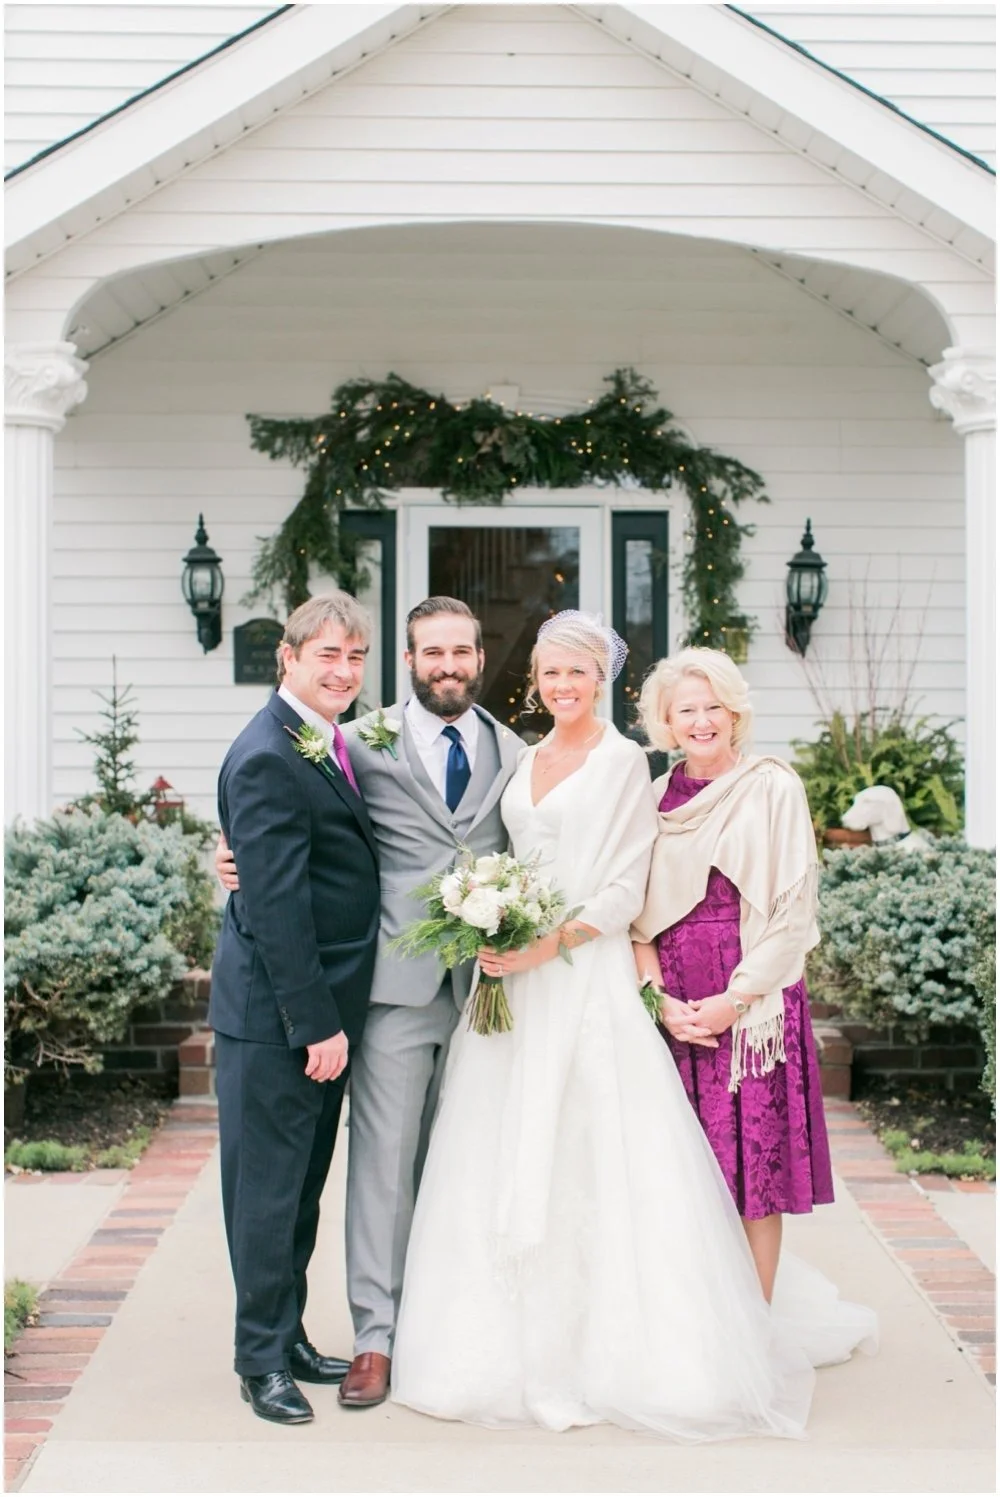
Look at the light across each face as you choose where the group stands.
Find the brighter side
Ask a willing person to stand in a comfortable spot. Look at the front and sides of their clothing. Then look at the face. Which side seems brighter? Where do the shadows sit?
In Jordan's overcast-day lesson, she uses the brighter side of clothing to help find the light. That gives you something visible to compare when the sun is hidden.
For a bright portrait with more light on the face, try turning the person toward that brighter direction. Move yourself as needed to keep the framing you want. Watch what happens before making another change.
Compare a turn while keeping the setting similar
Take a starting photo. Ask for a small turn and take another. Compare the cheeks, the eye area and the shadow below the nose.
Keep the camera settings the same for this short test when the light stays steady. That helps you notice what the turn changed. Check again if the clouds or the light shift during the exercise.
You may like more shadow on one side. You may prefer a brighter view of the face. Choose from the actual photos and the style you want to make.
Our portrait light-direction lesson explains front, side and back light. This cloudy-day exercise gives you one outdoor place to practice that choice.
Check what blocks the sky
Look above and around the person. A thick tree canopy blocks some of the light that reaches the ground. A porch roof or a nearby building can also change the balance.
Compare the spot with a place that has more open sky. You do not have to move far to make a useful test. Check the face again rather than assuming the second location is better.
Jordan's source lesson includes a portrait made under trees near the end of an overcast day. The useful choice is to look at where the light reaches the subject. The published group photo here is another example from that lesson, not a matched test of two positions.
Keep the background in the decision
As you turn or move, check what appears behind the person. A bright opening in the trees may become a large pale area in the photo. A different angle may give you a background you prefer.
Look at the face and the background together. Decide which details matter. Avoid changing exposure only to darken the sky if that leaves the person darker than you want.
A silhouette can also be a choice. Set that goal on purpose so you can judge whether the photo does what you intended.
Set exposure after choosing the light
Once you like the position, adjust exposure for the photo you want. Clouds can be thin and bright or thick and dark. One cloudy-day setting will not fit both.
Check your shutter speed when the person moves. Lowering it to brighten the image can add movement you did not want. The moving-subject shutter-speed lesson gives you a way to test that tradeoff.
Review the face and important bright details. Make one change, take another photo and compare. You can choose the next setting from what you can see.
Try a three-photo cloudy-day exercise
- Make one portrait in your starting position.
- Turn the person toward the brighter direction and make another.
- Try a nearby position with different sky coverage and compare.
Keep notes about the position and settings. Choose the version that suits your goal. Name one thing the light changed on the face before you think about editing.
Questions about overcast portraits
Can cloudy light still have a direction?
Yes. Look at the face and clothing to see which side receives more light. Nearby trees and buildings can make the difference more visible.
Should I always face the brightest part of the sky?
Use it as a test when you want more light on the face. You can choose another direction when a different shadow or mood fits the photo.
Do I need the same settings every cloudy day?
No. Check the actual light, the subject's movement and the details you want to show. Adjust from there.