For golden hour portrait photography, start with the low sun behind or beside your subject, then look for light reaching their face. This lesson shows you how to plan the timing, choose your angle and set your camera for portraits near sunset.
Jenna and Trevor's engagement photos at Nathanael Greene / Close Memorial Park show several ways that light can look. Look at the bright edges of their hair, the light on their faces and the sun coming through the trees.
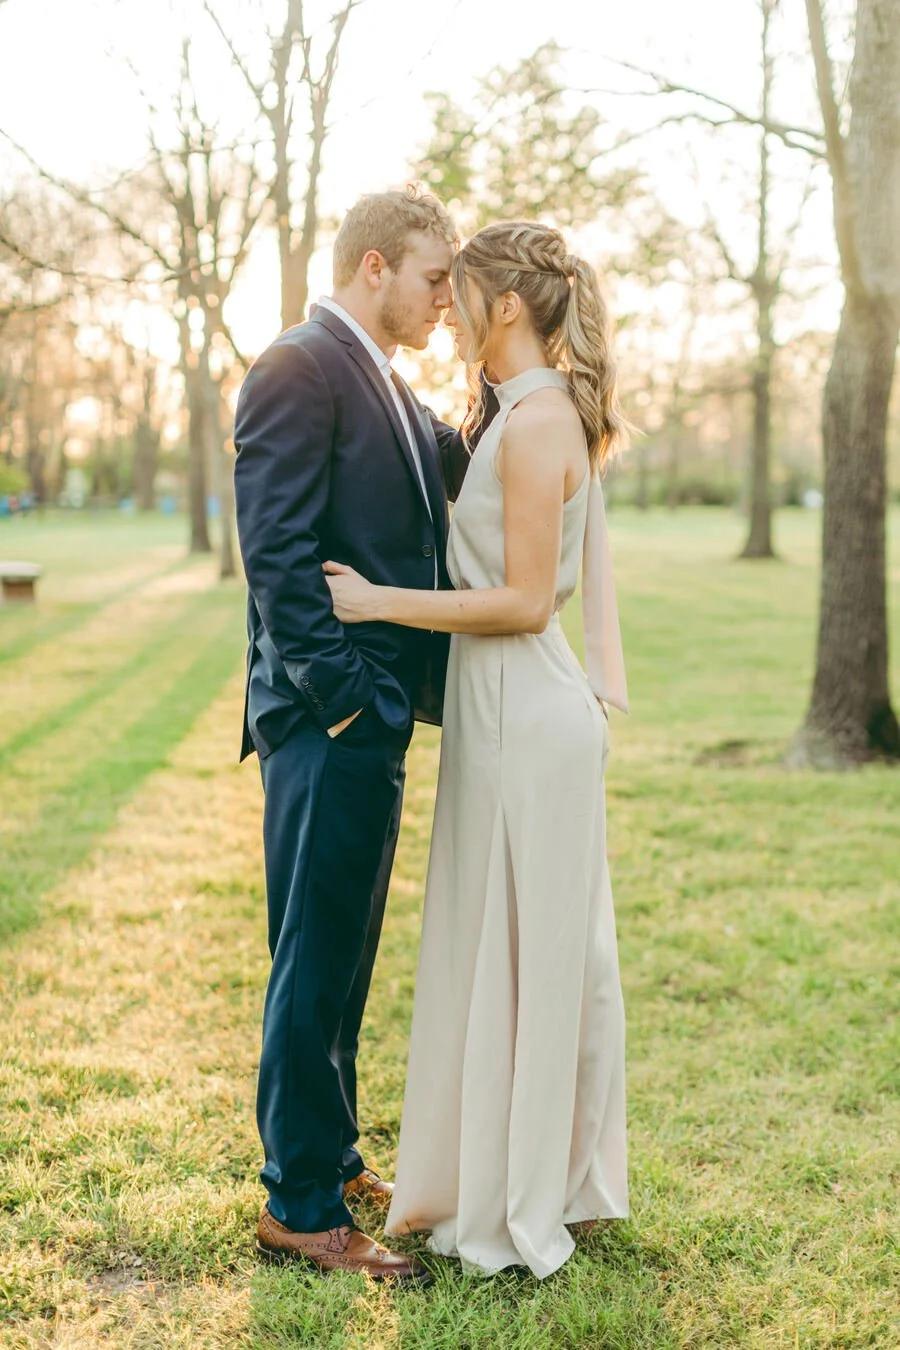
Look at the light along their hair and the long shadows on the grass.
When is golden hour for portraits?
Golden hour is the warm, low sunlight near sunrise and sunset. The hour before sunset or after sunrise is a useful planning guide, but the light doesn't follow an exact one-hour timer. The season, clouds and land around you change what you get.
Check sunset for your date and location, then arrive early enough to find your spot. A park with tall trees can lose direct sun before the listed sunset time. Watch where the sun will drop behind the trees, rather than planning every photo around the clock.
Adobe's golden hour guide explains how the low sun gives you warm color and directional light. A cloudy evening may give you soft light without the same golden glow.
Find light for the face as well as the background
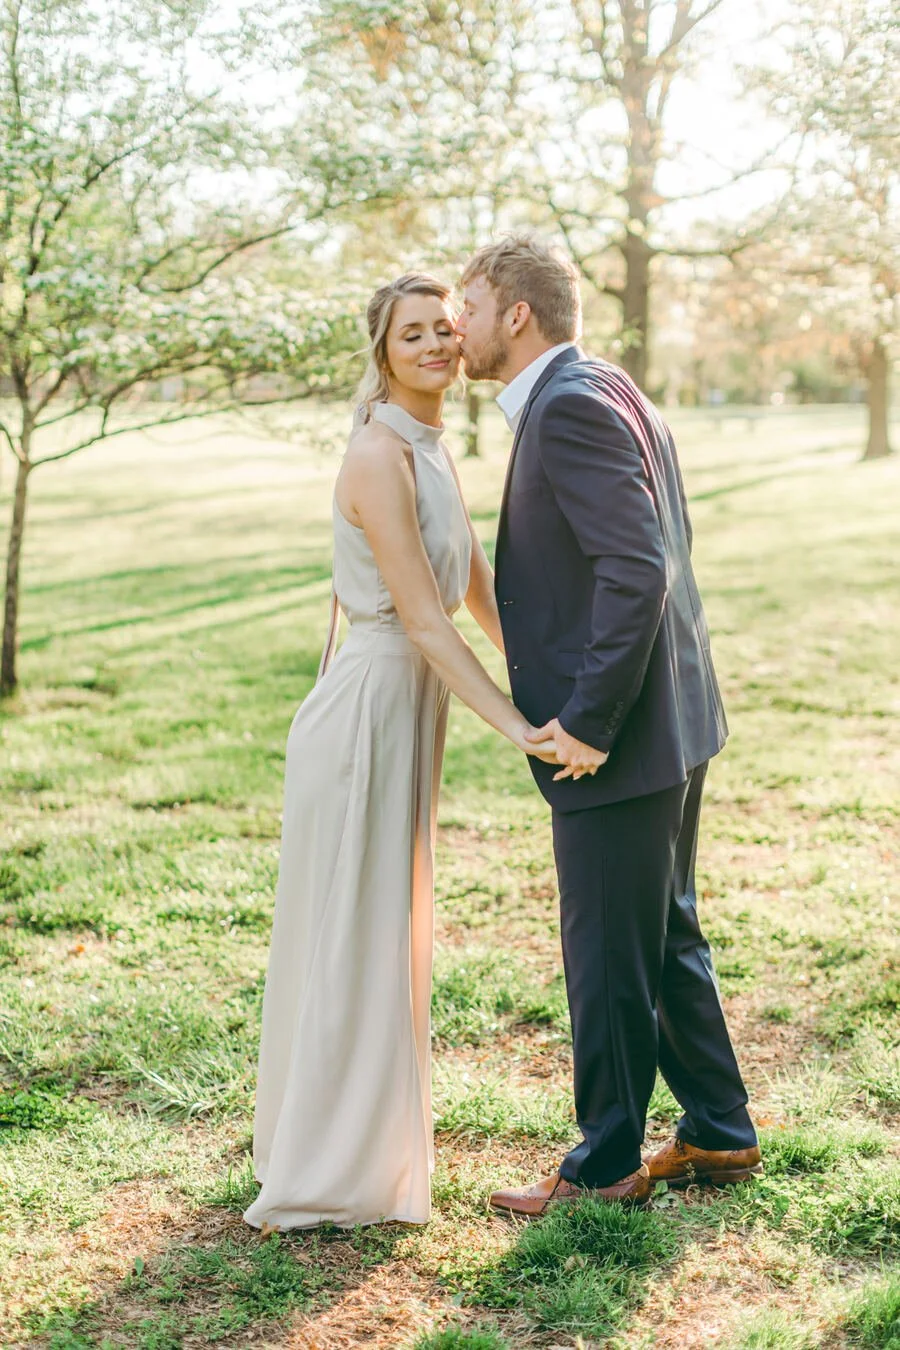
The faces and the background both matter when you choose the light.
Backlight means the main light sits behind your subject. It can make hair and the edges of clothing glow. The side of the face toward your camera still needs light if you want to see it clearly.
Start where your subject can face a large area of open sky. A pale path or wall behind you may also bounce light toward them. Check the color of that surface: strong green reflected from grass can affect skin color.
If the face stays too dark, change the spot or add a reflector. A white reflector can bounce sunlight toward the face. Tilt it while you watch the skin, then stop when the light looks right for the photo.
Our portrait light direction lesson shows how front, side and back light change a face.
This follows Jordan's approach to balancing light in the foreground and background. For a bright portrait, look at both before you change your camera settings.
Choose how much sun enters the lens
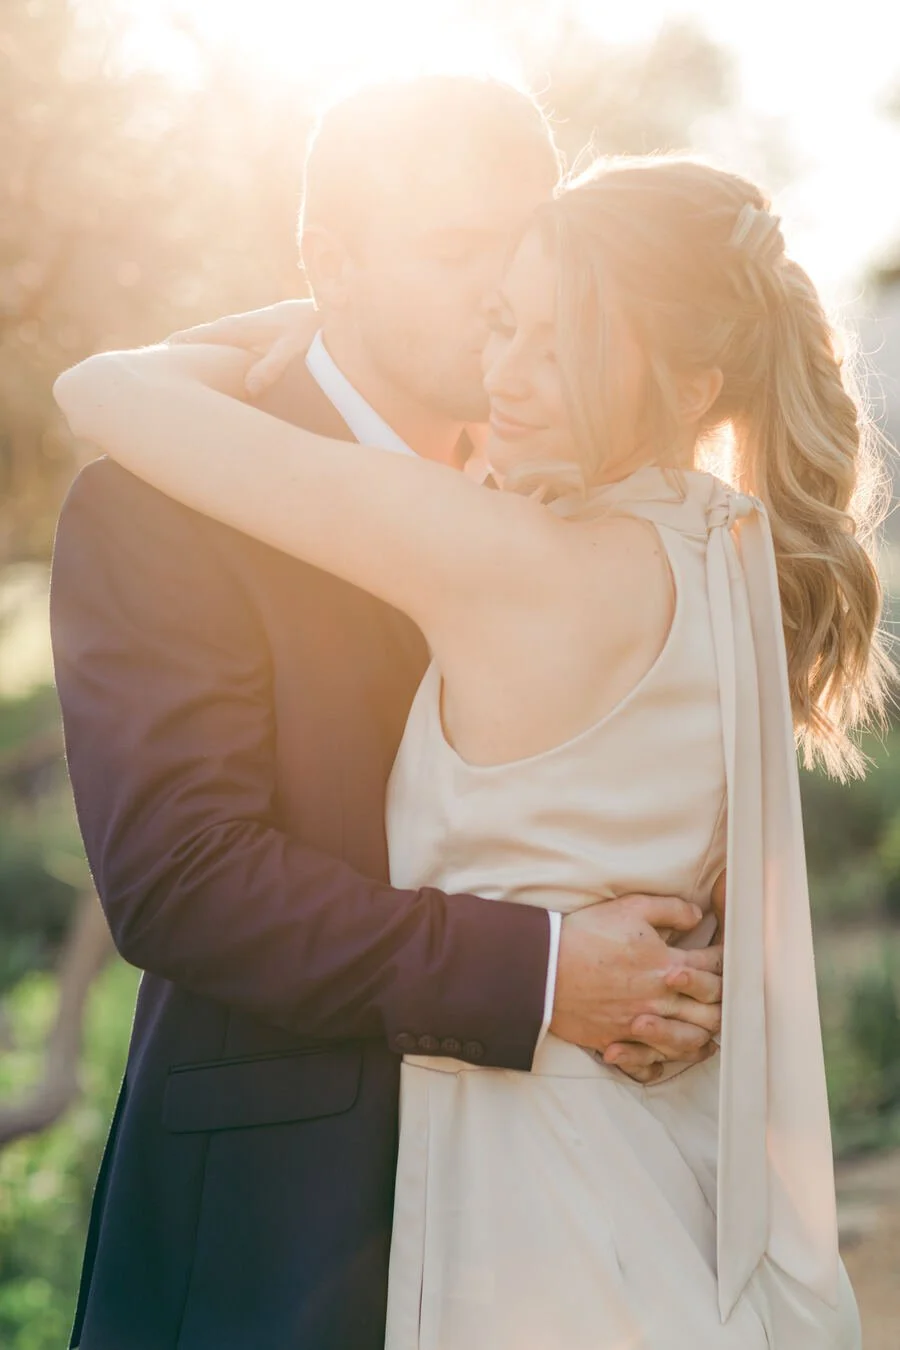
Sunlight entering the lens gives this frame a warmer, hazier look.
In Jenna and Trevor's close embrace, sunlight spreads across the top of the frame. That flare gives the photo a warmer, hazier look. Their full-length portraits show a different balance, with more detail in the trees and clothes.
If you want less haze, move a little to one side so a tree trunk, branch or your subject blocks the sun from the lens. Keep the warm light on their hair. Take another frame and compare the faces and dark clothes.
If you like the flare, let some sun back into the frame. Check whether you can still see the eyes and facial detail you want. A small camera move can change the flare a lot.
These are separate finished photos from one session. Use them to study the visible light, rather than as a test with every camera setting held the same.
Choose camera settings for the people in front of you
There isn't one set of golden hour camera settings that fits every portrait. Your settings depend on how much light reaches the face, whether people move and how much of the photo you want in focus.
- Shutter speed: for a couple standing fairly still, try 1/250 second as a starting point. For walking or turning, try 1/500 second or faster. Check a test photo for blur and adjust for the movement and lens. Our shutter speed lesson for moving people shows what to compare.
- Aperture: try f/2.8 to f/4 when two faces are close to the same distance from your camera. If one person stands farther back, use a higher f-number or change their position so both faces stay sharp.
- ISO: use a low ISO when the light allows it. As the sun drops, raise ISO when you need to keep your chosen shutter speed and aperture.
- Focus: check both faces at a close view. A bright rim of hair doesn't prove that the eyes are sharp.
These are starting points to try, not the recorded settings for Jenna and Trevor's photos. Nikon's guide to aperture, shutter speed and ISO explains how the three work together.
Check bright skin and light clothes
A bright background can lead your camera to make the faces too dark. In an automatic exposure mode, try a small amount of positive exposure compensation, then check the result. In manual mode with fixed ISO, change the exposure settings yourself.
Look at bright skin, hair and light fabric. If those areas lose detail, reduce the exposure. You may need more reflected light on the face to keep both the face and bright areas where you want them.
For a silhouette, make a different choice: expose for the brighter sky and let the people go dark. Choose that result on purpose rather than treating every dark face as the same problem.
Keep warm light without making skin orange
White balance changes how warm or cool the photo looks. Start with Daylight or Auto, then check the faces. If Auto keeps changing the color between similar frames, try a fixed white balance for that patch of light.
You can keep warmth in the sunlit hair without pushing every part of the photo toward orange. When the sun disappears behind the trees, check again. The light on the faces may become cooler even while the background stays warm.
Our Lightroom white balance lesson walks through a color check. RAW files give you more room to adjust white balance later. They still need a sound exposure when you take the photo.
Try three frames before the light changes
- Place your subject with low sunlight behind them and open sky in front. Set the exposure and take a photo.
- Move until a tree or your subject blocks direct sun from the lens. Keep their pose and take another photo.
- Move back enough to let a little flare into the frame. Check exposure and take a third photo.
Compare the eyes, skin, bright hair and dark clothes. Pick the balance you like, then keep checking it as the sun moves.